

Building the Satellite Bars
See the videos below (Parts 1, 2, & 3) and the text instructions that go with it

Satellite Bar Assembly Instructions
Before You Start
Ideally build with 2 people. One person can do it, but it’s awkward as hell.
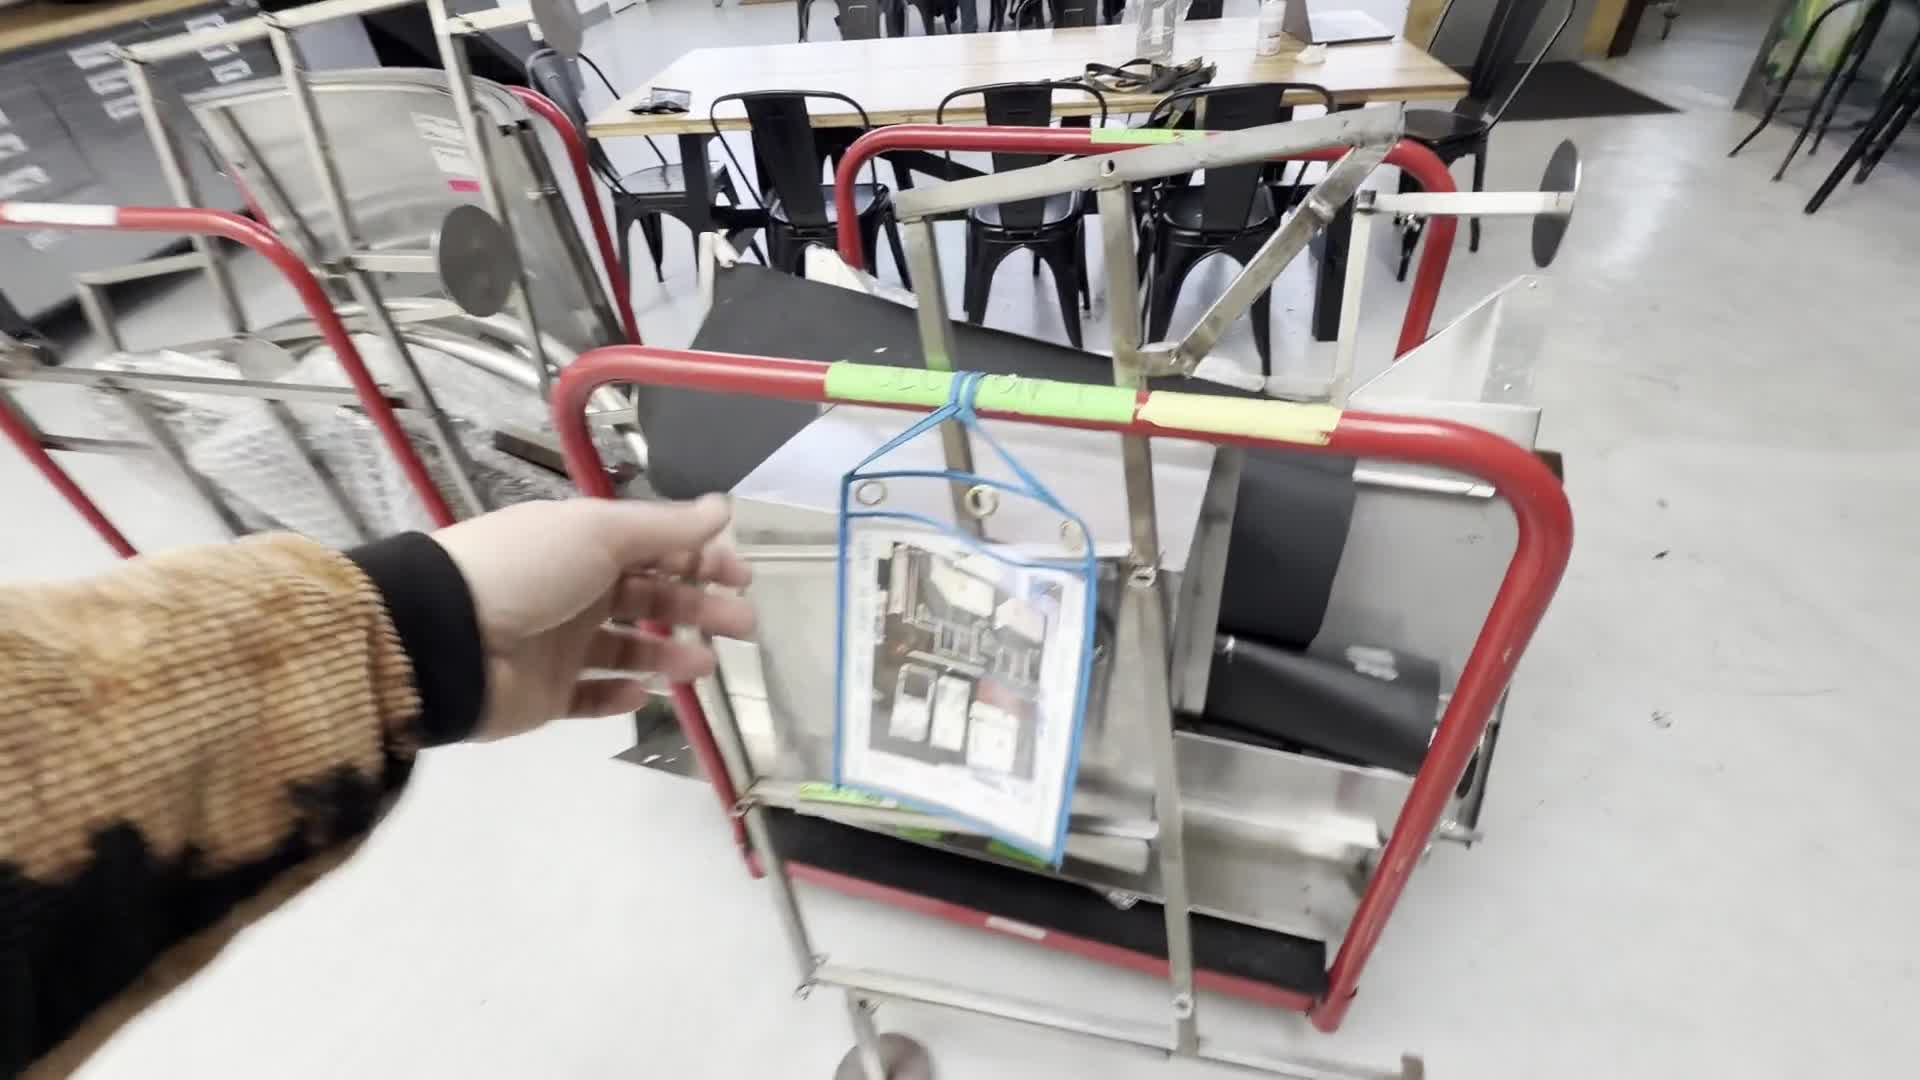
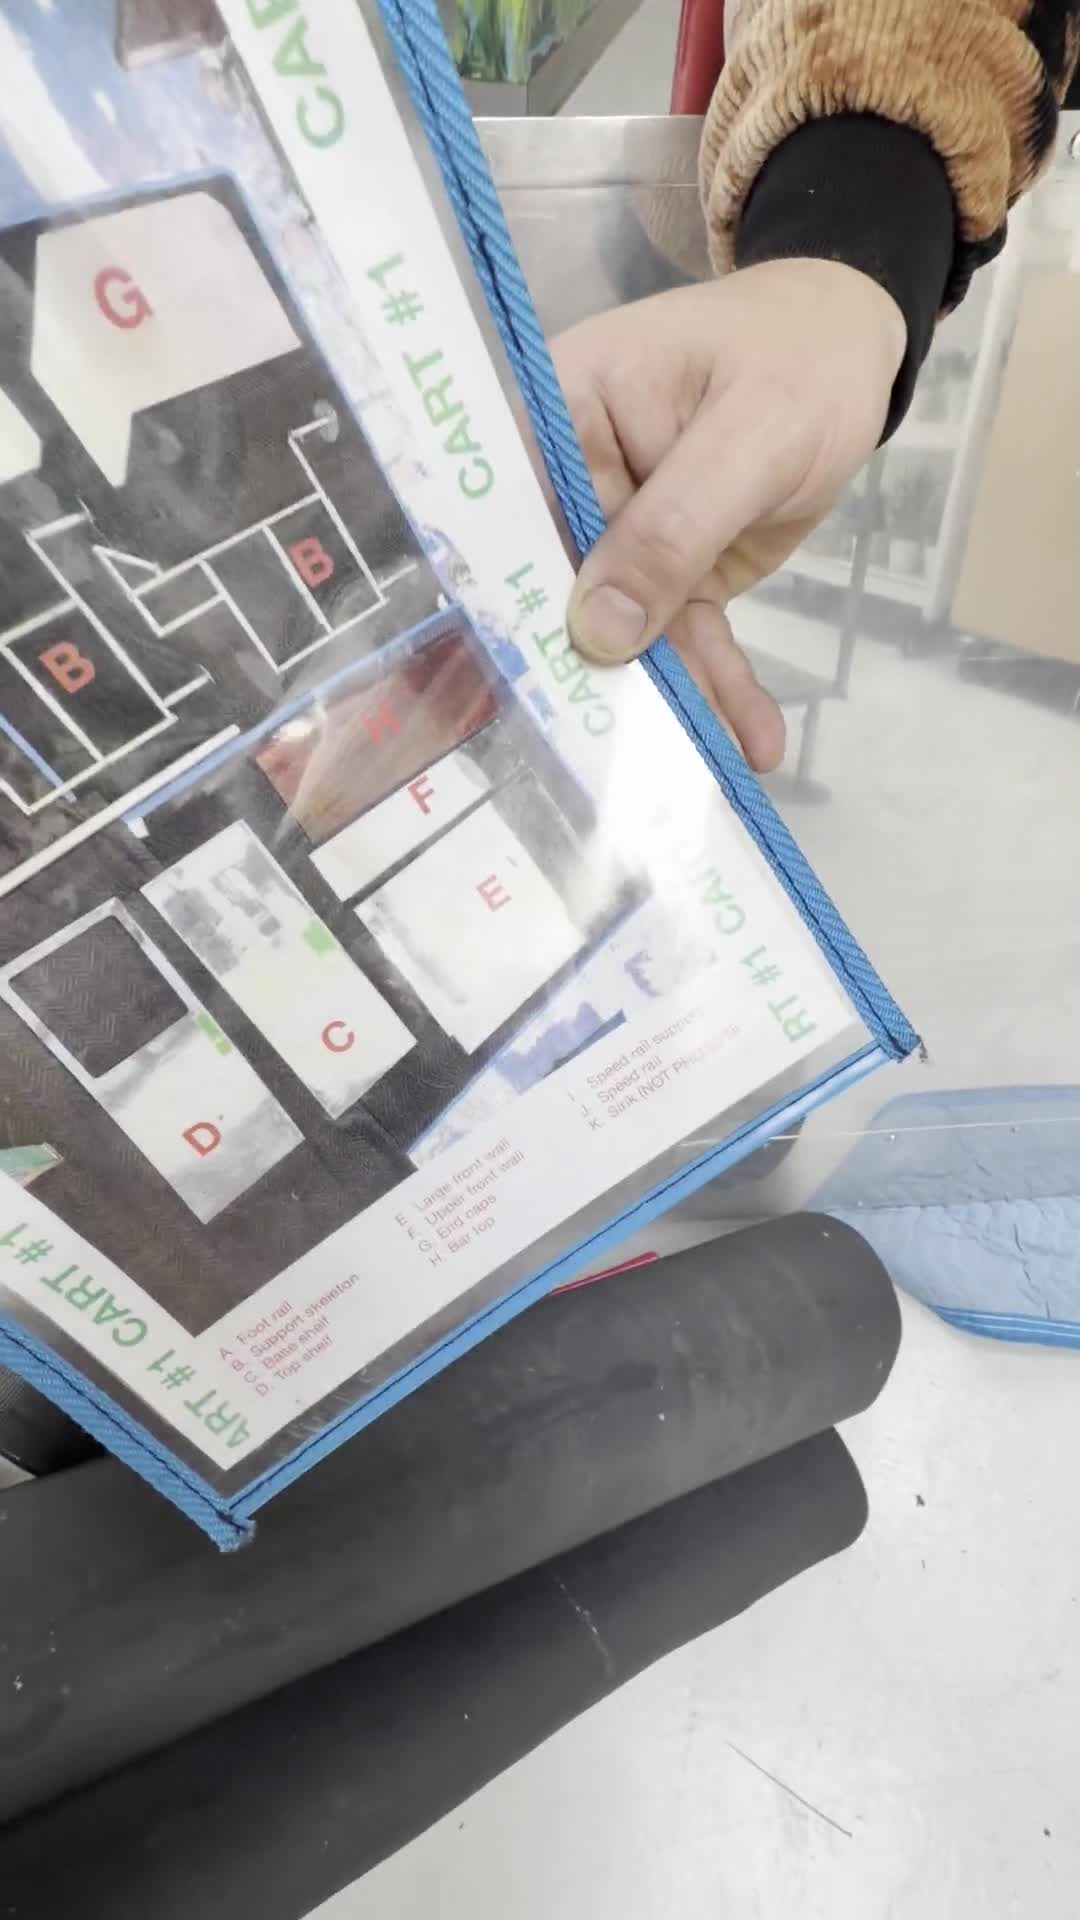
All pieces are labeled alphabetically in assembly order.
Keep all wrapped pieces wrapped during transport until install.
Make sure all corners face outward toward guests.
Throughout assembly: if something doesn’t fit immediately, jiggle, lift slightly, and re-seat it. Everything should sit flush and fully latch.
Assembly Order
1. Foot Rail + Support Skeletons
Pieces:
Foot rail
Support skeletons / crane pieces
Steps:
Lay the foot rail on the ground.
Position both support skeletons roughly the same width as the foot rail.
Insert each end of the foot rail into the support skeletons.
Make sure everything is seated evenly.
⚠️ This is the hardest part solo. Having someone hold one side helps a lot.
2. Install Base Shelf — Section C
Piece:
Full metal shelf (NO sink cutout)
Orientation:
Lip faces UP
Labeled “THIS SIDE UP”
Steps:
Slide the shelf into the lower latch points.
Make sure bottom tabs fit fully over the support frame.
Push until fully seated and locked.
This shelf helps square and stabilize the structure.
3. Install Top Shelf — Section D
Piece:
Shelf WITH sink cutout
Orientation:
Lip faces UP
“THIS SIDE UP” marking visible
Steps:
Place into upper latch points.
Push fully into position.
Confirm everything is flush.
Front Wall Installation
4. Install Large Front Wall — Section E
Piece:
Large curved front wall
Notes:
Keep wrapped during transport
Has alignment notches and latch holes
Steps:
Align notches with corresponding latch points.
Start one side first.
Wiggle into place until both sides seat properly.
Ensure all edges sit flush.
⚠️ If this section isn’t flush, later sections become annoying.
5. Install Upper Front Wall — Section F
Piece:
Smaller/skinnier upper front wall
Steps:
Install exactly like Section E.
Align latches to matching holes.
Push until fully seated and flush.
Speed Rail Installation
6. Install Speed Rail + Supports
Pieces:
Speed rail supports
Speed rail
Steps:
Insert supports into both sides.
Lift speed rail into place.
Latch speed rail over supports.
Bar Top Installation
7. Install Bar Top — Section H
Piece:
Mahogany bar top
Notes:
Keep wrapped during transport
Avoid dragging/scuffing
Steps:
Lower bar top into latch/notch locations.
Make sure all corners align correctly.
Once seated, install pins underneath.
Pin Installation
8. Secure With Pins
Piece:
Pin box from cart
Use:
Skinny pins go into access points underneath
Steps:
Find access points underneath bar top.
Slightly jiggle/lift sections until holes align.
Insert pins fully.
The pins prevent the top from shifting if leaned on.
⚠️ Don’t skip this part.
End Caps
9. Install End Caps — Section G
Use:
Only needed if guests can see behind the bar
Steps:
Align notches with mounting points.
Drop into place like other wall sections.
Optional:
Can leave off for easier rear storage access if guests won’t see backstage.
Sink Installation
10. Install Sink + Drain Bucket
Pieces:
Sink insert
Drain bucket
Steps:
Place drainage bucket directly underneath sink drain location.
Drop sink into sink cutout.
Make sure drain aligns over bucket.
Done.
Final Checklist
Before service:
Install all pins
Confirm all walls are flush
Confirm shelves fully seated
Wipe down entire bar
Check sink drainage alignment
Remove transport wrapping
After service:
Wipe down and dry all surfaces
Remove sink and empty drainage bucket
Re-wrap mahogany pieces before transport
Return pins to pin box
Boom. Bar built.